An early start to Saturday morning - all of those years of 6am alarm calls means that I find it impossible to stay asleep at weekends - saw me heading to the workbench for some soldering before the rest of the household woke.
Fortified with a strong coffee, my first task was to finish soldering the cab wrapper in place from where I left off last night. This was soldered in place around the seams, and the edges cleaned up. It's an almost perfect fit, with just a tiny excess around the edge to enable you to get it properly centred and fixed, and then a few strokes of the file mean that the base layer and the overlay are visually one.
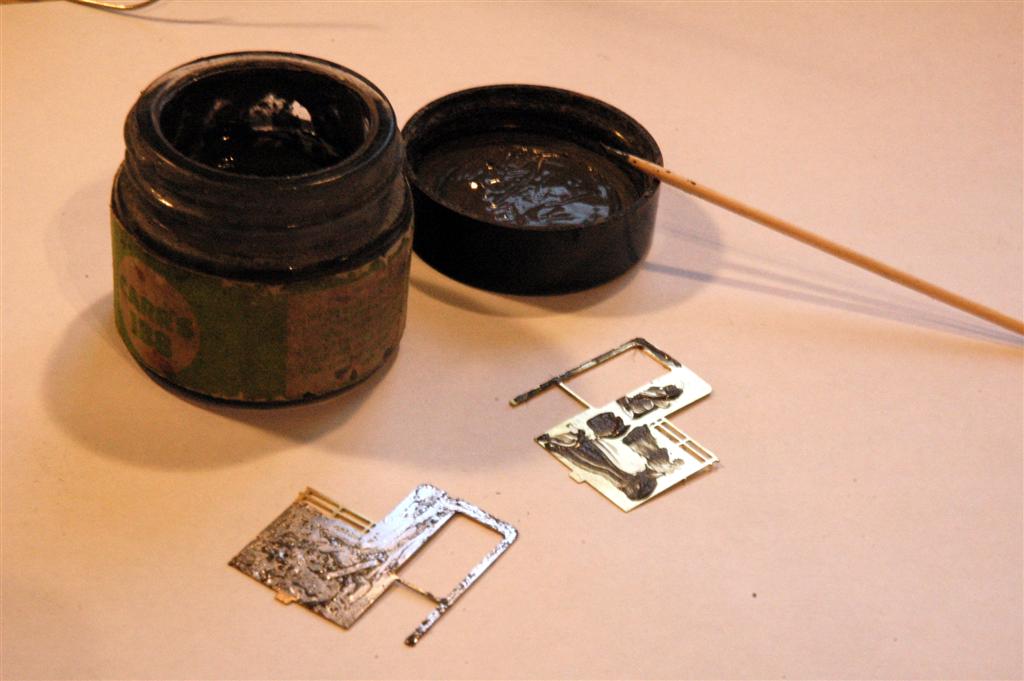
After this, it is the cab sides - again in the form of overlays. In this case, I'm using my RSU to put them in place. It enables a really neat finish, and very controlled soldering. The first step, after removing the parts from the fret and cleaning off the (minuscule) tags, is to tin them. Here I'm using a thin layer of 188 solder paint, and wiping it on with a conventional iron.
High Level Kits make plentiful use of locating tabs to help you put everything together correctly, and in the right place. In this case, there is a convenient slot in the footplate that takes the tab that is just visible at the bottom of the cabside. I took two steps to help ensure that the parts located snugly:
- clean back any excess solder from the right-angle where the cab base layer meets the footplate so that the overlay can fit all the way down. This was done with the back of a scalpel blade as a scraper, then finished off with a fibreglass pencil
- ensure that the tab is slightly chamfered - a few gentle strokes with a file and nothing more - to enable it to enter into the slot easily.
Then it was the use of the RSU to work carefully around the cabside to put it into place, avoiding working to quickly so that there was no heat build-up and distortion.

Just visible in the front bottom corner of the overlay is a spot of solder that I used as a tack to ensure that the piece didn't move before I started using the RSU. This was then easily cleaned off once everything was securely in place.
Now on to the bunker fronts... And breakfast!
Flymo
No comments:
Post a Comment